
- To be able to make use of the Import Tool, a user must have (or be a member of a group that has) the
daImportoperations privilege specified for any tables that will be involved in the import. - As the Import Tool emulates the manual creation or editing of records in
daInsert,duEdit) and Record Level Security permissions that are required when adding or updating records manually.For example, if a user does not have permission to:
- Add a record to a module (the
daInsertpermission) or update a record in a module (duEdit), no record will be added to or updated in that module when using the Import Tool. - Add a value to a Lookup List field (specified using the Lookup Registry entry), the import will fail for any record that involves the addition of a value to that Lookup List field.
- Add a record to a module (the
In the module in which records are to be imported (Parties in this example):
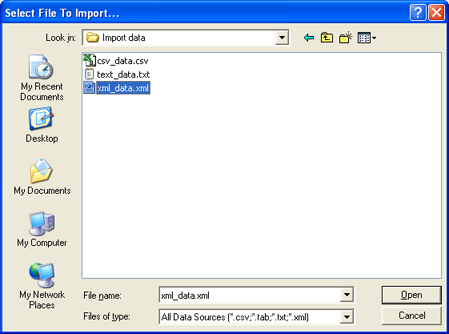
- Select Tools>Import from the Menu bar to display the Select File To Import box:
Note: If the Import option is gr
- Navigate to the file that contains the data to be imported, select it and click Open.
Tip: Details about how to produce an import data file can be found here.
The Import Wizard displays:
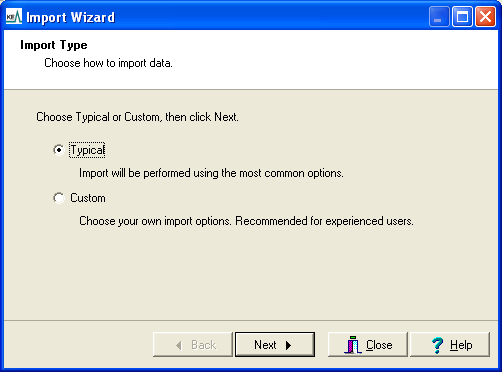
The default option is Typical . Accept this option to import data using the following default import settings:
- Import data, performing format and data validation (see Validate Data screen for details).
- If the data file references other records (see Attachments screen for details):
- A search is performed on all existing records in the
- If no match is found, a new record is added for the referenced record.
- If one record is found, an attachment is made to that record.
- If more than one match is found, the matching records are displayed so that the correct record can be selected manually.
- A search is performed on all existing records in the
- All records are imported (see Records screen for details).
- A minimal log is generated containing setup options, results and a list of errors if any occur (see Report screen for details).
- Accept the Typical option
-OR-
Select the Custom radio button to change the import settings.
- Click Next to continue.
Details about a Typical import are available here.
Details about a Custom import are available here.